 | Hello Guest - Sign In or New Account |
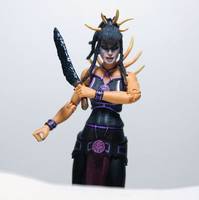
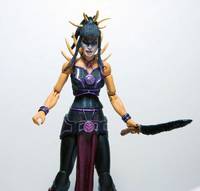
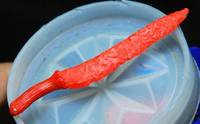
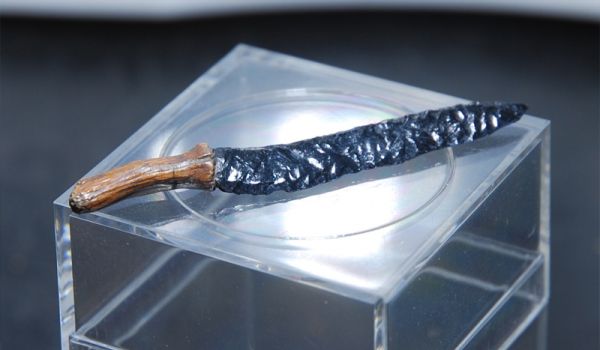
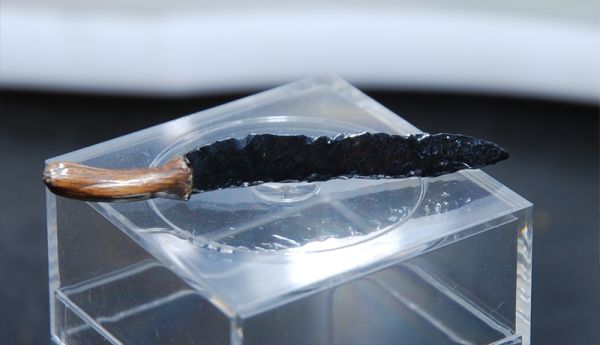
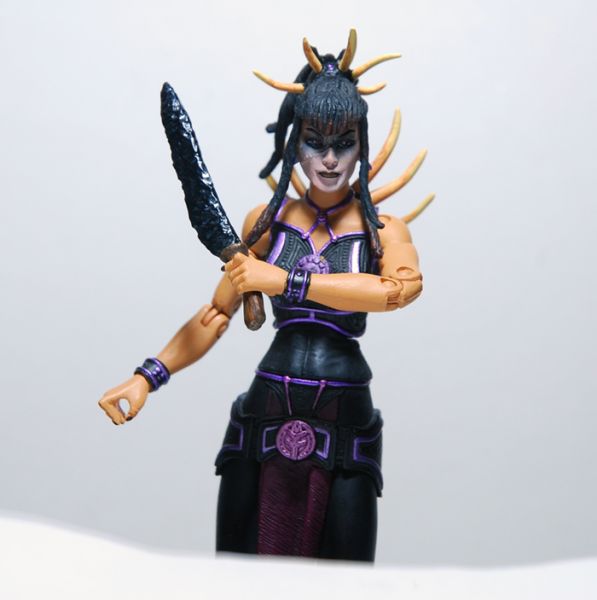
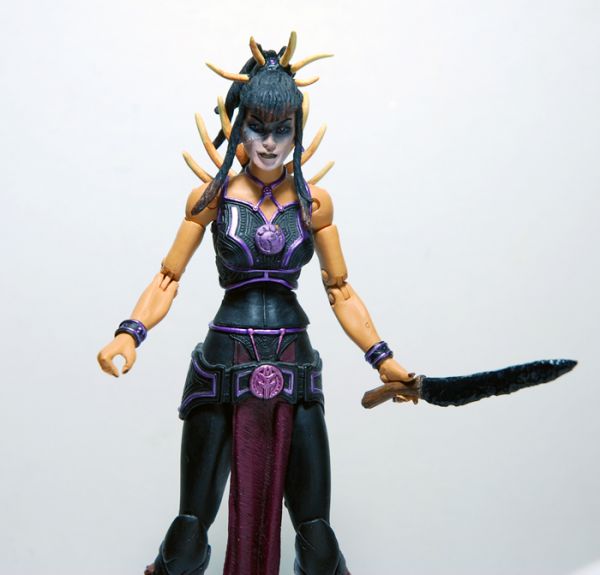
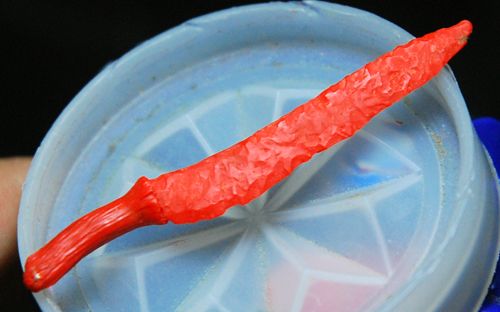
In an effort to encourage more submissions of custom accessories, I'm uploading this old piece of mine. Usually after a sculpting session, there are little bits of clay left over, I began to experiment making weapons with the leftovers instead of throwing them away. This longknife is made of Sculpey, with an Apoxie Sculpt shank inside that helped keep its shape while sculpting. It's always disappointing when sculptors don't share their creative process, so here's how I made this. Give it a try! •I roughed in the shape of the blade onto a waste piece of hardened AS, leaving the spine a little thicker than the edge. At this point the blade is smooth, it just looks like a thin piece of clay. The edge is blunt and a little thick, this is important. I then added a skinny piece to the handle area, just to add more surface area to sculpt on after. Baked this piece to harden it. •Phase two involved refining the blade. I did a little sanding to get rid of stray fingerprints and shape the blade further, it's still smooth at this point, it has an almost oval or teardrop profile. Now you're going to add all that texture, all you need is a razor/utility knife. What you're going to do is randomly shave little pieces off the entire blade. It should be thick enough that you can do it on both sides without wrecking it. And read that carefully, I specifically said "shave" not "cut". Shaving slivers off doesn't affect the structural integrity of it too much, but if you make deep cuts it will leave ugly weak spots that don't look like the texture you're going for. I start shaving bits at the edge, you'll naturally get a sharp edge just by continuing to do this. Once that looks cool, I work the rest of the blade. Alternately, you can simply grab a rock or a ball of foil and press it into the clay when it's still soft to transfer the texture. I didn't like the effect it had though, because it looked mushy. •Now we can sculpt the handle, so go ahead and rough in the shape, then refine as needed. Once you have the shape you like, use a blunt wedge tool to press/drag the wood grain into the clay. Don't use a knife for this, it cuts too deeply and the super clean slits look unnatural. Maybe even a sword from one of your other figures will do the trick. You just want the grooves to be noticeable and deep enough that you can drybrush comfortably. Make sure the grooves flow in generally the same direction, don't criss-cross them, it just looks bad. If you're dragging too much and tearing up clay, use a damp brush to smooth the grooves again. Use a needle to pockmark the tips of the handle if you want it to look like raw, unfinished wood. I like to tap it a few times with the blunt end, followed by a few taps with the pointy end. I did this to the flared out area where the blade and handle meet, and a little to the other end. •I used basic painting techniques on this. Base coated the blade with flat black, then a coat of gloss black, then drybrushed a little ashy grey, then gave it a quick wash of gloss black to blend it all together. The sparse scuffs of grey add a subtle scuffed effect, and give the blade more depth than if it was just pure gloss black. The handle has a dark brown basecoat with a few lighter shades of drybrush, then a quick wash with a darker brown. The "raw" ends of the wood have the lightest shade, as if they're dryed out, while the main body of the handle has a rich color, as if it was treated with oil, and smooth from constant use. Coat the handle in super glue to protect the paint. And there you have it, a really cool accessory for those hot goth druid chick figures on your shelf.  |
| San gohan |  | Submission Order |  | Han Solo - Hoth - Blue coat |
| Fatbunny | | Original Series | | Centaur |
| Lightning Lad | | Created by Henchmen4Hire | | Safeguard Axe |


 Update Your Custom
You might also like Alluxandra